Showing posts with label cooking. Show all posts

Saturday, March 26

Winnie-the-Pooh Cake

When my sister asked me to make a Winnie-the-Pooh cake for my niece's birthday party, I said, "Sure, no problem." Then I started to panic a little bit. I love to decorate cakes, but nobody had never asked me to make a cake for them. I have no artistic ability (Seriously, on a good day, I can draw stick figures), so the task of drawing a Pooh with frosting was overwhelming to say the least. I would not have been able to make Arianna's cake without looking at Pooh cakes that other people had made, and now I am passing on the steps to this cake to maybe help out somebody else. This is the cake that I attempted to replicate.

The first thing I had to figure out was how to cook a cake that was half chocolate and half white. (When Sarah asked me if I could do that, I said, "Of course!" but I really had no idea how to go about it). I copied the lady in this video on the "rolled-up towel method" and successfully made one cake with two flavors. I used one chocolate cake mix and one white cake mix in an 11x15 pan. The line in the middle was not exactly straight, but it didn't seem bad for a first try.When the cake was cool, the fun really started - keeping Collin's fingers out of the icing while I decorated the cake! I frosted the entire cake with white frosting and let it harden just a little bit.

My original thought for drawing Pooh was that I could place a picture of Pooh on the cake and use a toothpick to poke holes around the edges into the cake. Instead, I poked holes all around Pooh before I placed the picture on the cake. When I put it on the cake, the backs of the holes actually left a decent outline for me, and I just sort of guesstimated the rest.

I bought a tube of black frosting, because I've never succeeded in making my own. (If you have ever had any success with making black or red frosting, please let me know how). I used a #2 tip to outline Pooh in black.

I used a mix of ivory and yellow food coloring to get the right color for Pooh. I filled in his body with stars using the #16 tip. I built up his hand, cheeks, and snout by putting on a few more layers of stars.

I bought a tube of red frosting as well and filled in his shirt with red stars. I used red frosting for his tongue and just kind of smeared it around with a toothpick until it looked like a tongue. :-)
I used chocolate frosting for his nose and the inside of his mouth.

I used green and yellow frosting to make balloons and strings and wrote my niece's name on the balloons with red frosting using the #2 tip. I used green frosting and the #16 tip to do the edges.
Because I always worry about not having enough food during parties, I also made a batch of cupcakes to go with the cake. All in all, I was happy with the result. I hope the birthday girl was, too!!
She looks happy, don't you think?

Friday, March 25

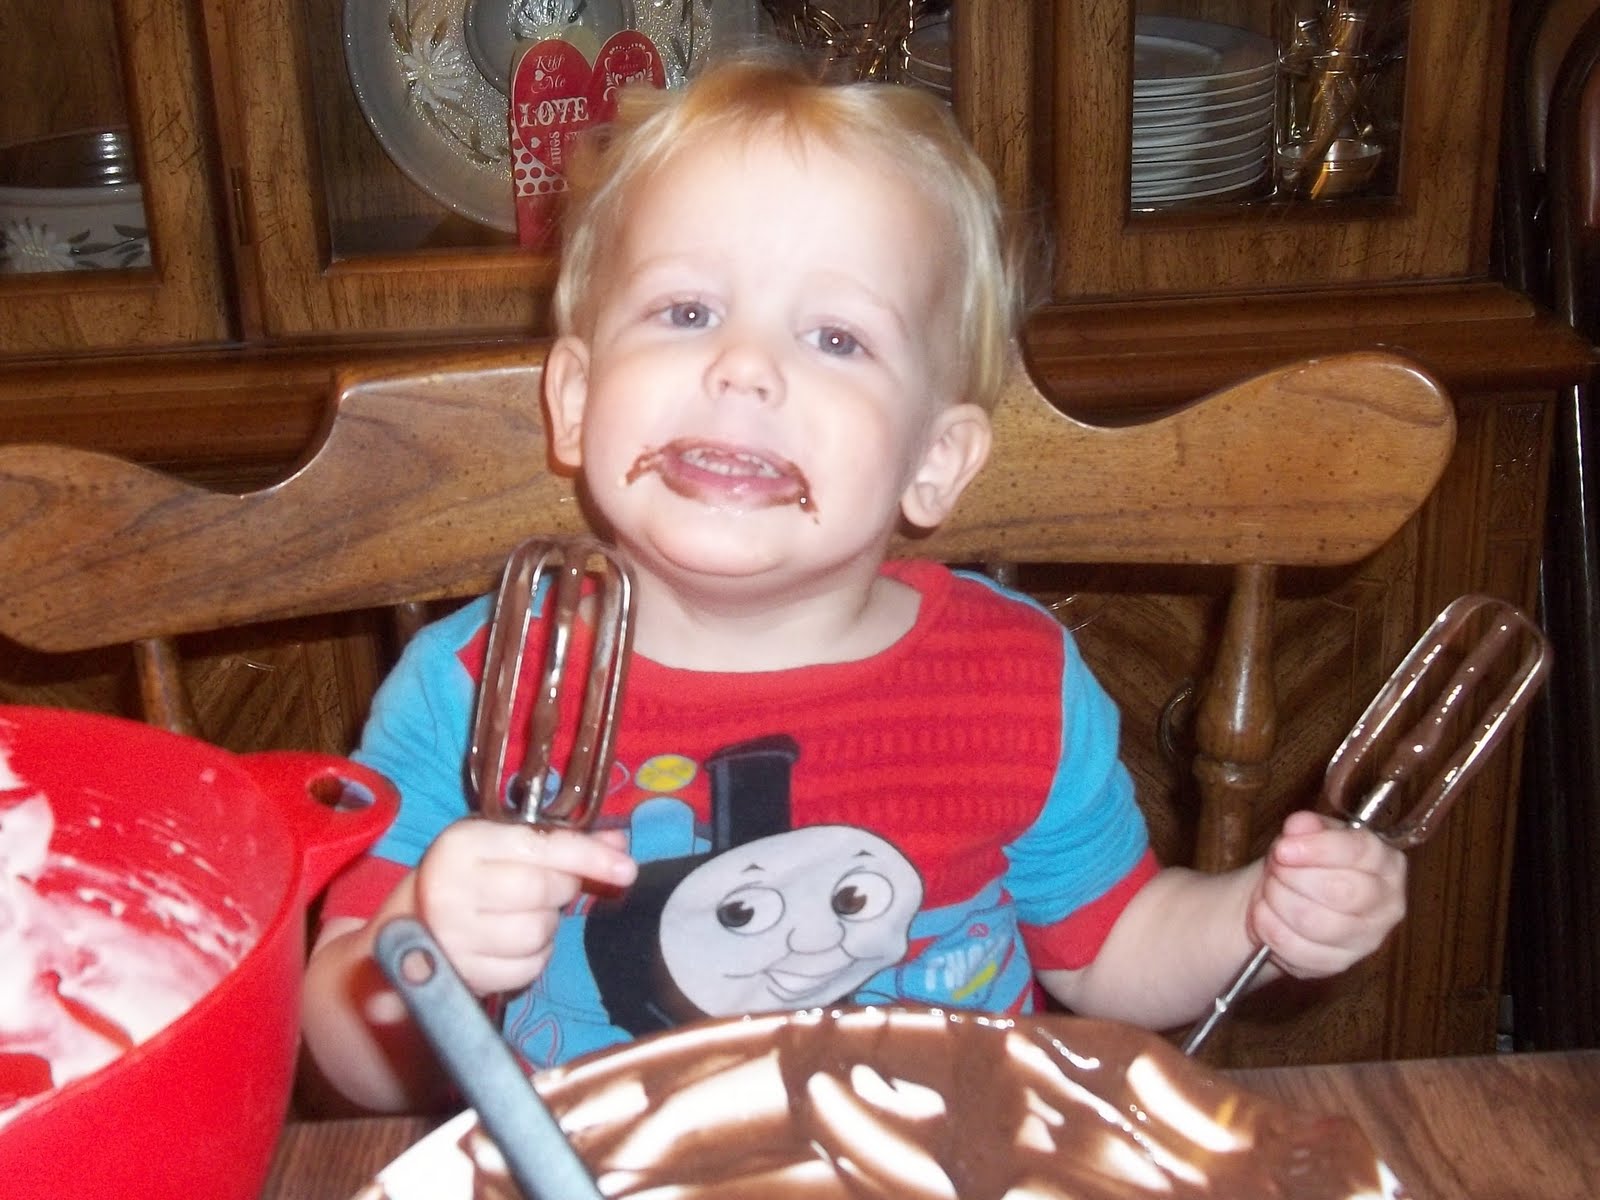
Could Life Get Any Better?

9:30 am.

Sitting on the counter in his favorite choo-choo jammies.

Licking cake batter off the beater.

Could life possibly get any better for this two year old??

Why, yes. YES it could!!

He could have TWO beaters (and a spatula and two bowls)!!
Sometimes you just need to spoil your little ones a little bit. :-)


Sunday, February 6

New Favorite Appetizer Recipe

I tried this appetizer recipe last night, and it was a big hit. It's from Pampered Chef's Season's Best Fall/Winter 2010. I often find that Pampered Chef recipes as they are written require a lot of work, but they can be made simpler with a few modifications. (I added my modifications in red). This recipe came together in about 20 minutes.

Antipasti Pull-Apart Pizza

Adapted from Pampered Chef “Season’s Best” recipe collection, Fall/Winter 2010.

  • 2 teaspoons olive oil, divided
  • 2 packages (11 ounces each) refrigerated French bread dough
  • 1 jar (12 ounces) marinated artichoke hearts, drained
  • 1 8-ounce block fresh mozzarella cheese (I used a bag of shredded)
  • 1 medium red bell pepper, diced (I didn't have a red pepper on hand, but I had 1/2 of an orange pepper and 1/2 of a yellow pepper that I used).
  • 1/2 cup pitted ripe olives, sliced
  • 2 garlic cloves, pressed
  • 1/4 teaspoon salt (I forgot this. I'll probably put it in next time, but it turned out well without it).
  • 1/4 teaspoon coarsely ground black pepper (I forgot this. I'll probably put it in next time, but it turned out well without it).
  • 2 ounces Parmesan cheese, divided (For the second use of parmesan, I had run out. Instead, I used a shredded Italian mix.
  • 1 teaspoon parsley

Wash hands. (Heather interjecting here: For real? Does this need to be said?) Preheat oven to 400 degrees. Brush pizza stone with 1 teaspoon oil. (I don't usually measure things like this. It just takes extra time. I poured some oil in a bowl, and brushed it on until I got it all over the stone. When I was done with the oil, I funneled the the remainder back into the bottle).

Place one package of the dough on a cutting board. Cut dough in half lengthwise; slice each dough half crosswise into 16 half moons for a total of 32 half moons. Repeat with second package of dough. Arrange dough over baking stone, leaving a half-inch border around the edge and about a half inch between half moons; brush with remaining 1 teaspoon (again - no measuring necessary. I repeat - it's a waste of time!) oil. Bake 10-12 minutes or until crust is golden brown.

Meanwhile, prepare the antipasti. Pat dry artichokes and coarsely chop. Dice mozzarella into 1/2-inch cubes. Chop pepper. In large mixing bowl, combine artichokes, mozzarella, bell pepper, olives, garlic, salt and pepper; mix well.

Remove crust from oven and place on cooling rack. Using a grater, grate half of the Parmesan cheese over crust (I used already grated parmesan. It worked just fine).; top with antipasti. Bake 5 to 7 minutes or until mozzarella is melted. Remove from oven; grate remaining Parmesan cheese over top. Sprinkle with 1 teaspoon of parsley. (Again, no measuring needed. Sprinkle to your heart's content. Some like more; some like less. Use what looks good to you).

Yields 16 servings.

If you make this, let me know how it comes out for you. I'd also be interested in hearing about any changes you made. I love getting new ideas!

Happy cooking!!